|
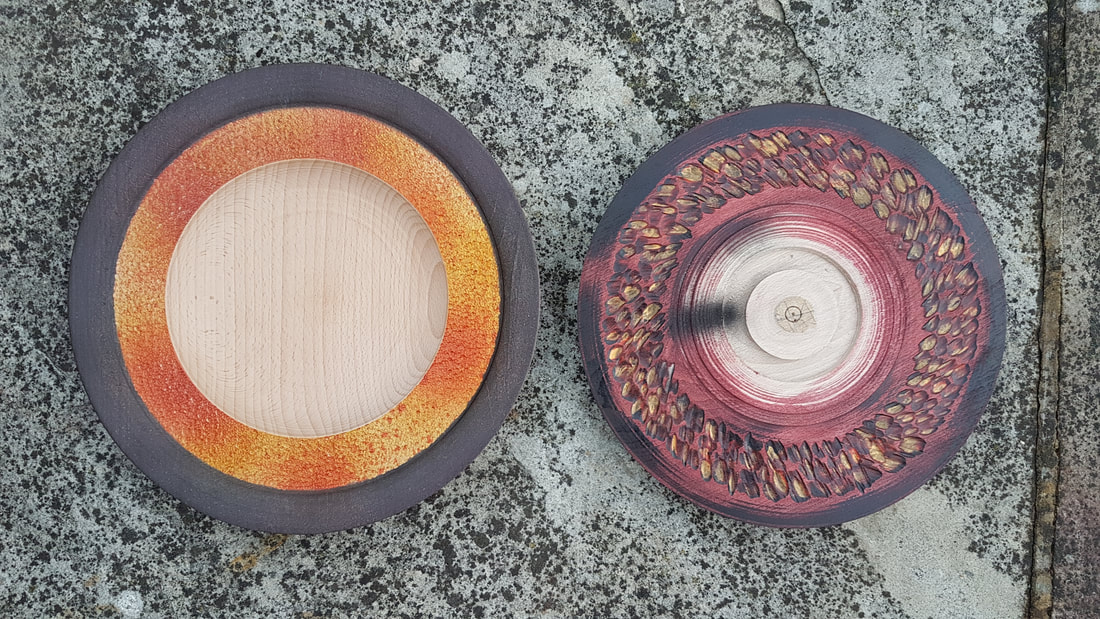
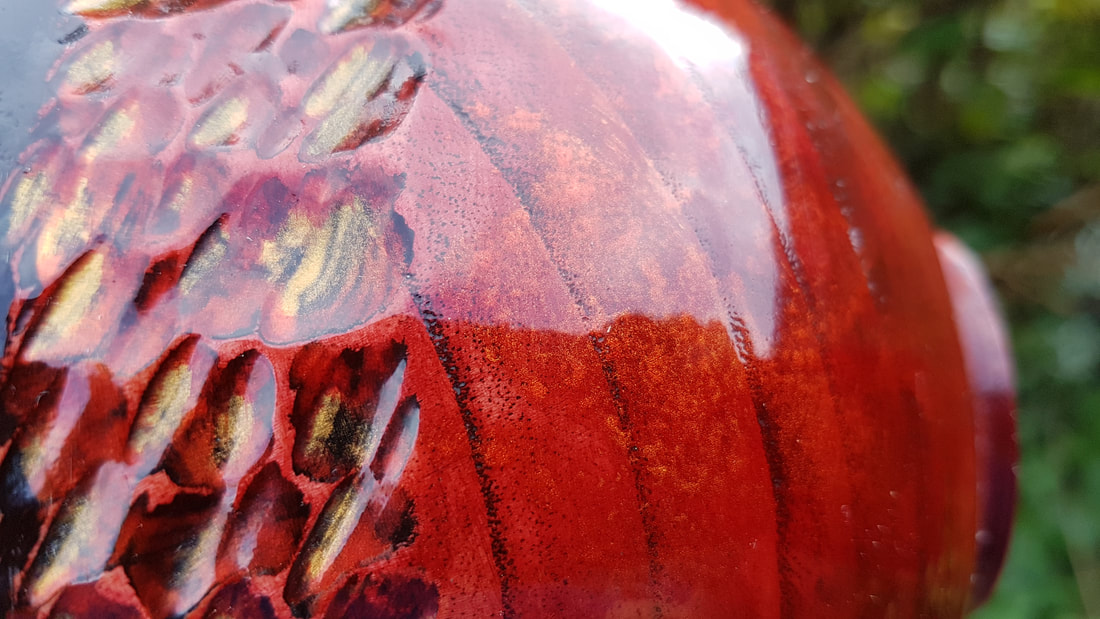
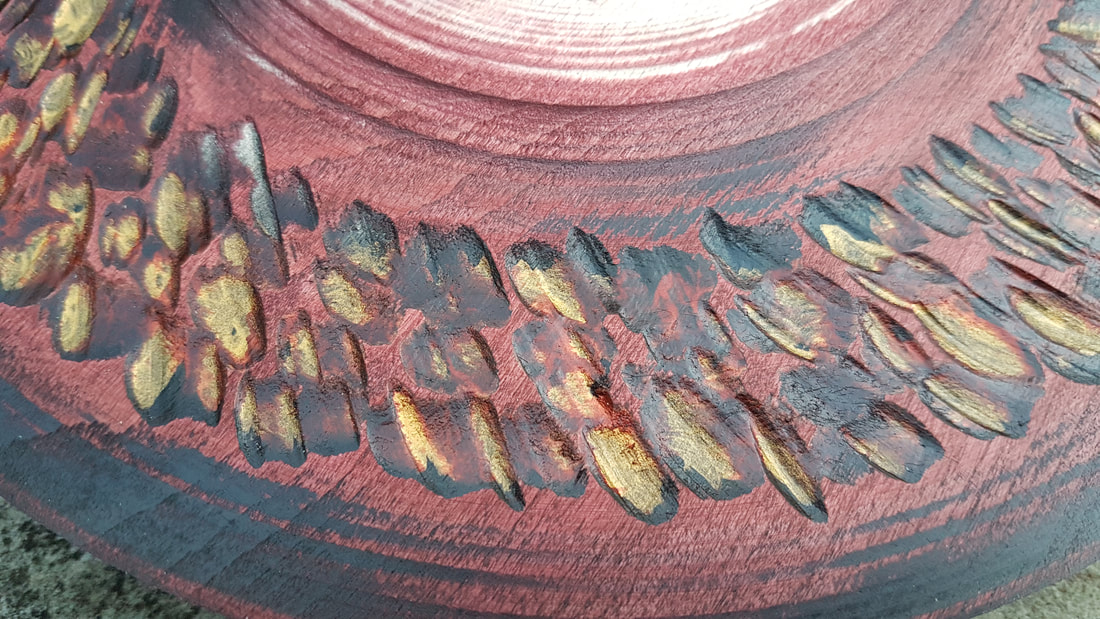
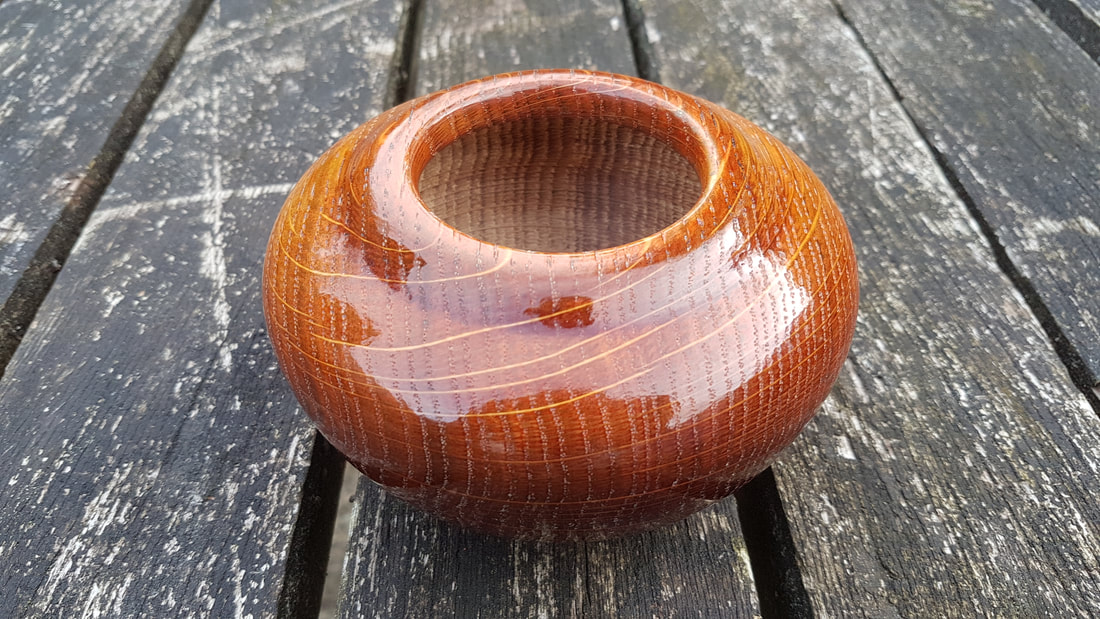
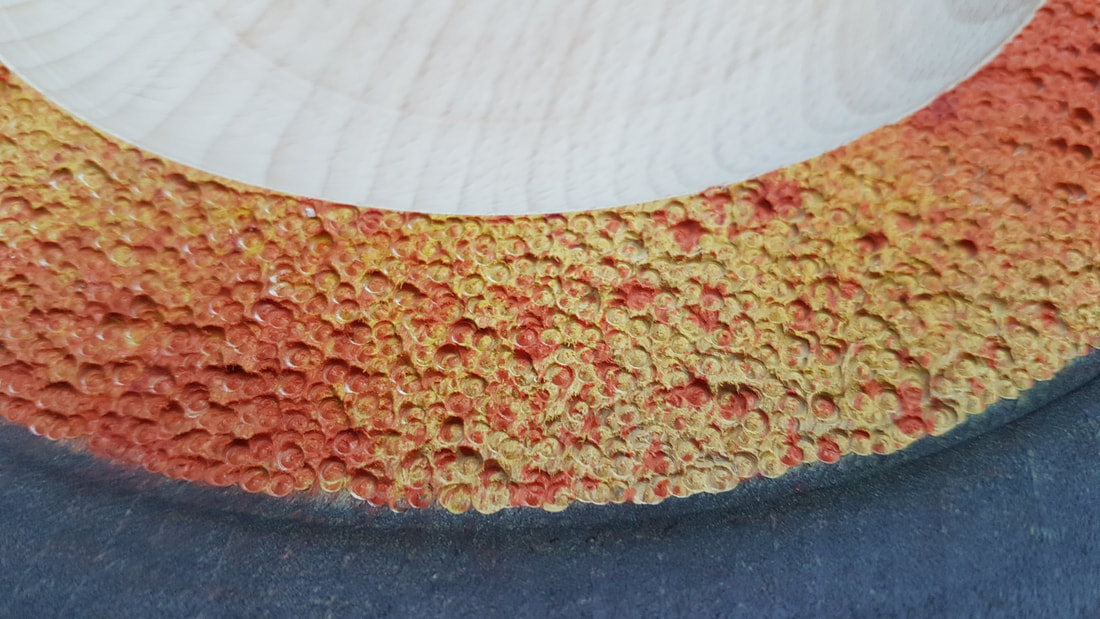
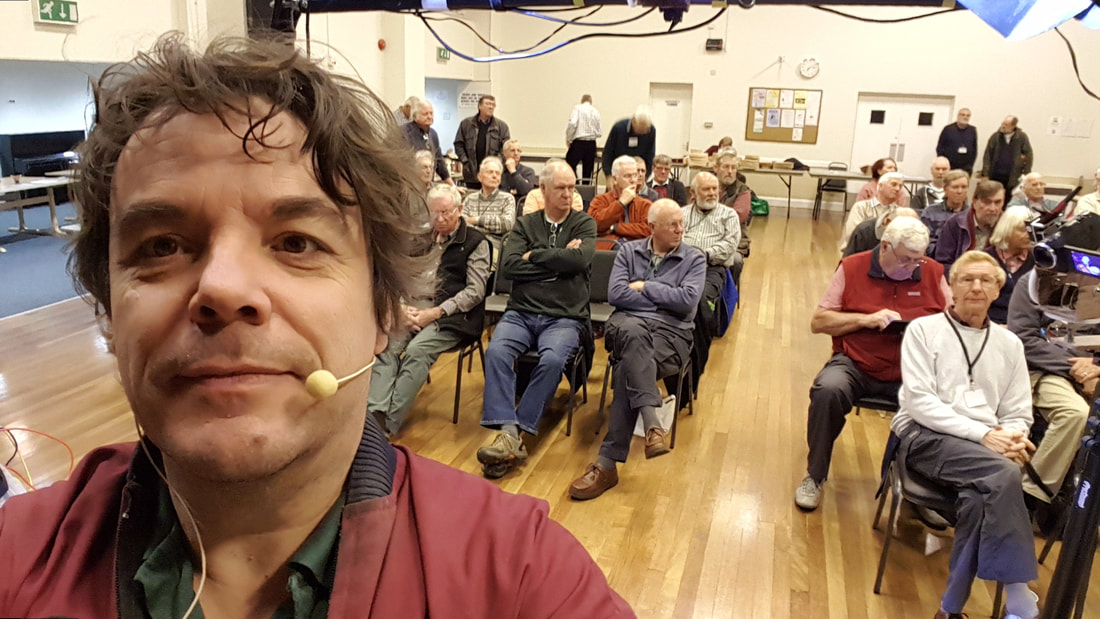
Well, last night, I 'volunteered' to do the club demo at South Downs Woodturners - thanks, Jim for volunteering me! I hope those who saw it enjoyed it. I know I did. As I had already done a demo last summer on a wide range of colouring techniques, this time I focused more on making a complete platter, though I promised there would be no sanding as it creates too much dust and no lacquer was applied as there wasn't time for it to dry. It was also very flattering to be told by Barrie Fitch that I had done some proper turning for a small oak hollow form which ended up 'round and brown'...there'll be a video of this coming up soon. Demoing at your own club is a great way to take your turning a bit further. Yes, there is some banter, but it's good natured and amusing, rather than cutting and scathing. And the atmosphere is supportive - especially helpful when you find out your mini-compressor has given up the ghost and your carefully timed plan to include airbrushing needs to be adapted on the hoof! Talking and turning can be tricky, though. I nearly completed two platters - one turned on the night, showing how I shape the back and include a shallow recess for the chuck. I keep the recess on the finished platter, but it's only a couple of millimetres deep and I disguise it with texturing and round over the sharp edge of the dovetail. I then started working on the front: truing the face, texturing with a Proxxon, spraying with ebonising lacquer - and all this completed in time for tea and the raffle. In the second half of the demo I painted over the textured area with gold acrylic paint mixed with Kleister medium which gives the paint some transparency. Then, despite my promise not to do any sanding, I sanded off the high spots of the texture and then wiped on several coats of red spirit stain from Chestnut Products. To complete the platter I still need to lacquer the rim (and probably redo some of the black on the very edge) and then turn out the centre. You can see the progress so far in the pictures below. It has to be said, that the lacquer will add a lot to the quality of the finish. A second blank was then put on the lathe - I had already turned the back, coloured the edge of the rim with black spirit stain, and added most of the texture with a carbide cutter in a Dremel flexi-shaft. If watching paint dry can be rather boring, watching someone texture a whole rim like this can only compound that boredom! So I only had about an inch of the rim left to texture and then it was time to airbrush it. This was when my compressor decided it didn't want to play nicely - thank goodness for Chestnut's diffusers which meant I could blow stain onto the rim (remember not to breathe in when using these...) The other exciting news this week, is that I'll be taking part in next year's Brighton Festival again. Friends who had an Open House last year have decided to have one again next year. Look out for more information about this between now and May next year. There'll be an opportunity to see a range of artists' work in the house - after you've bought one of my platters of course!
3 Comments
Jerry Measimer
2/11/2018 09:48:02 pm
Your platters look great! I allways like to learn on how you do them.
Reply
Stewart Furini
2/11/2018 10:00:46 pm
Thanks, Jerry! I'll be posting a video this weekend about the texturing on the red, black and gold platter on my YouTube page. Cheers!
Reply
Leave a Reply. |
Stewart is...Keeping sane and finding creative expression in a piece of spinning wood Archives
April 2022
Categories |
© 2017-2024 Stewart Furini Woodturning. All rights reserved.

 RSS Feed
